Before & After: Our Laundry Room Reveal!
A big thank you to The Home Depot for sponsoring this post! All opinions are my own.
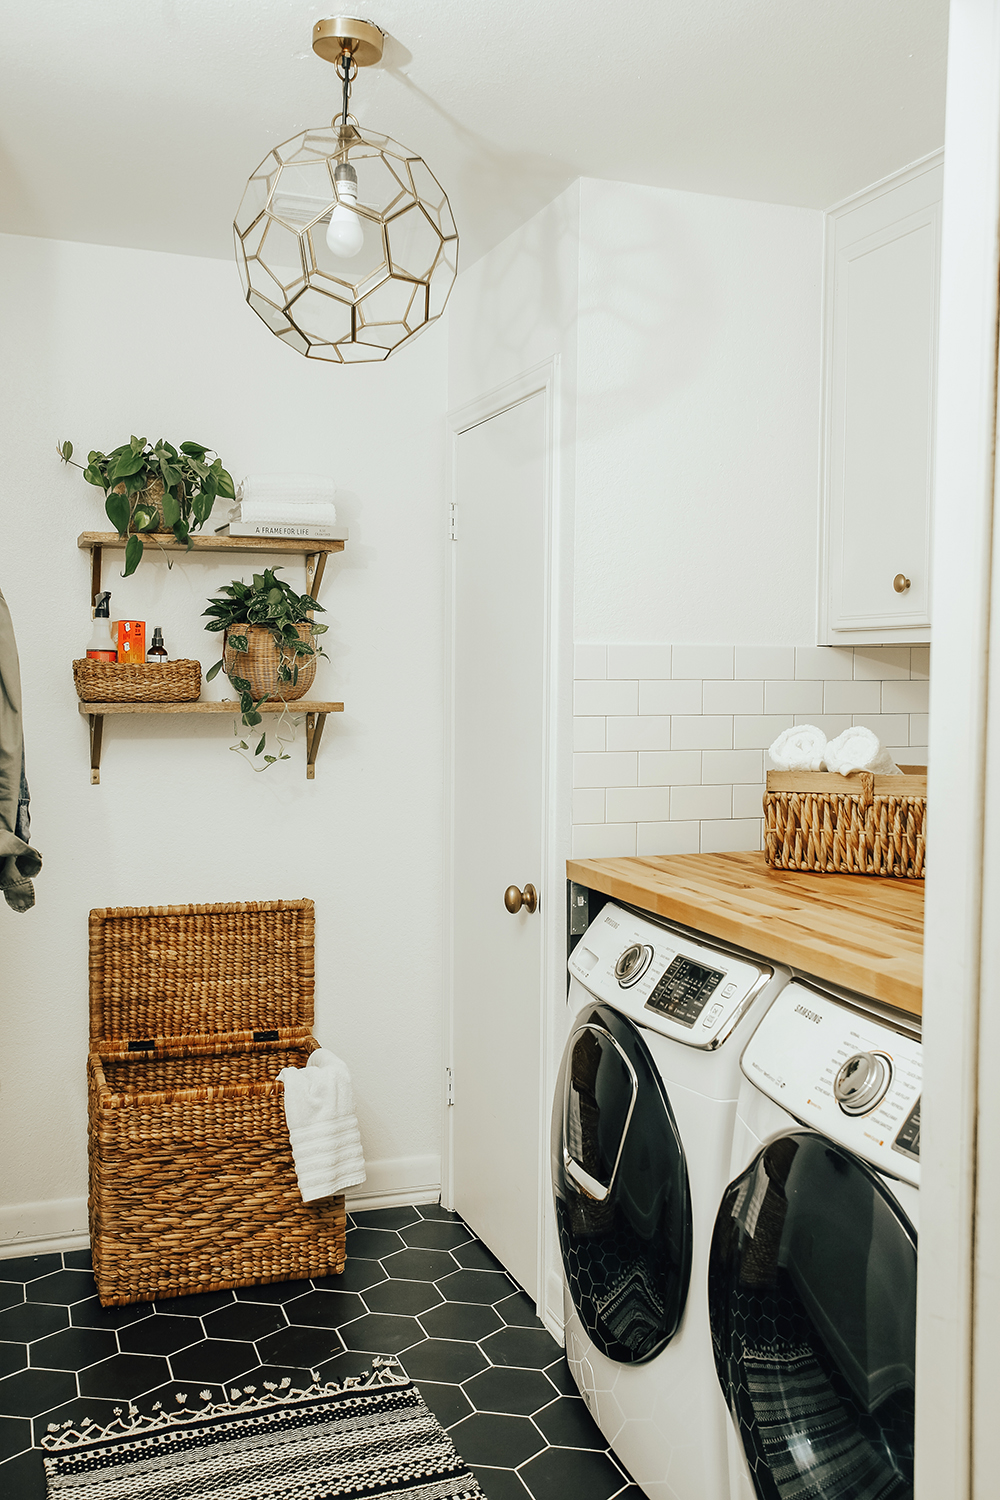
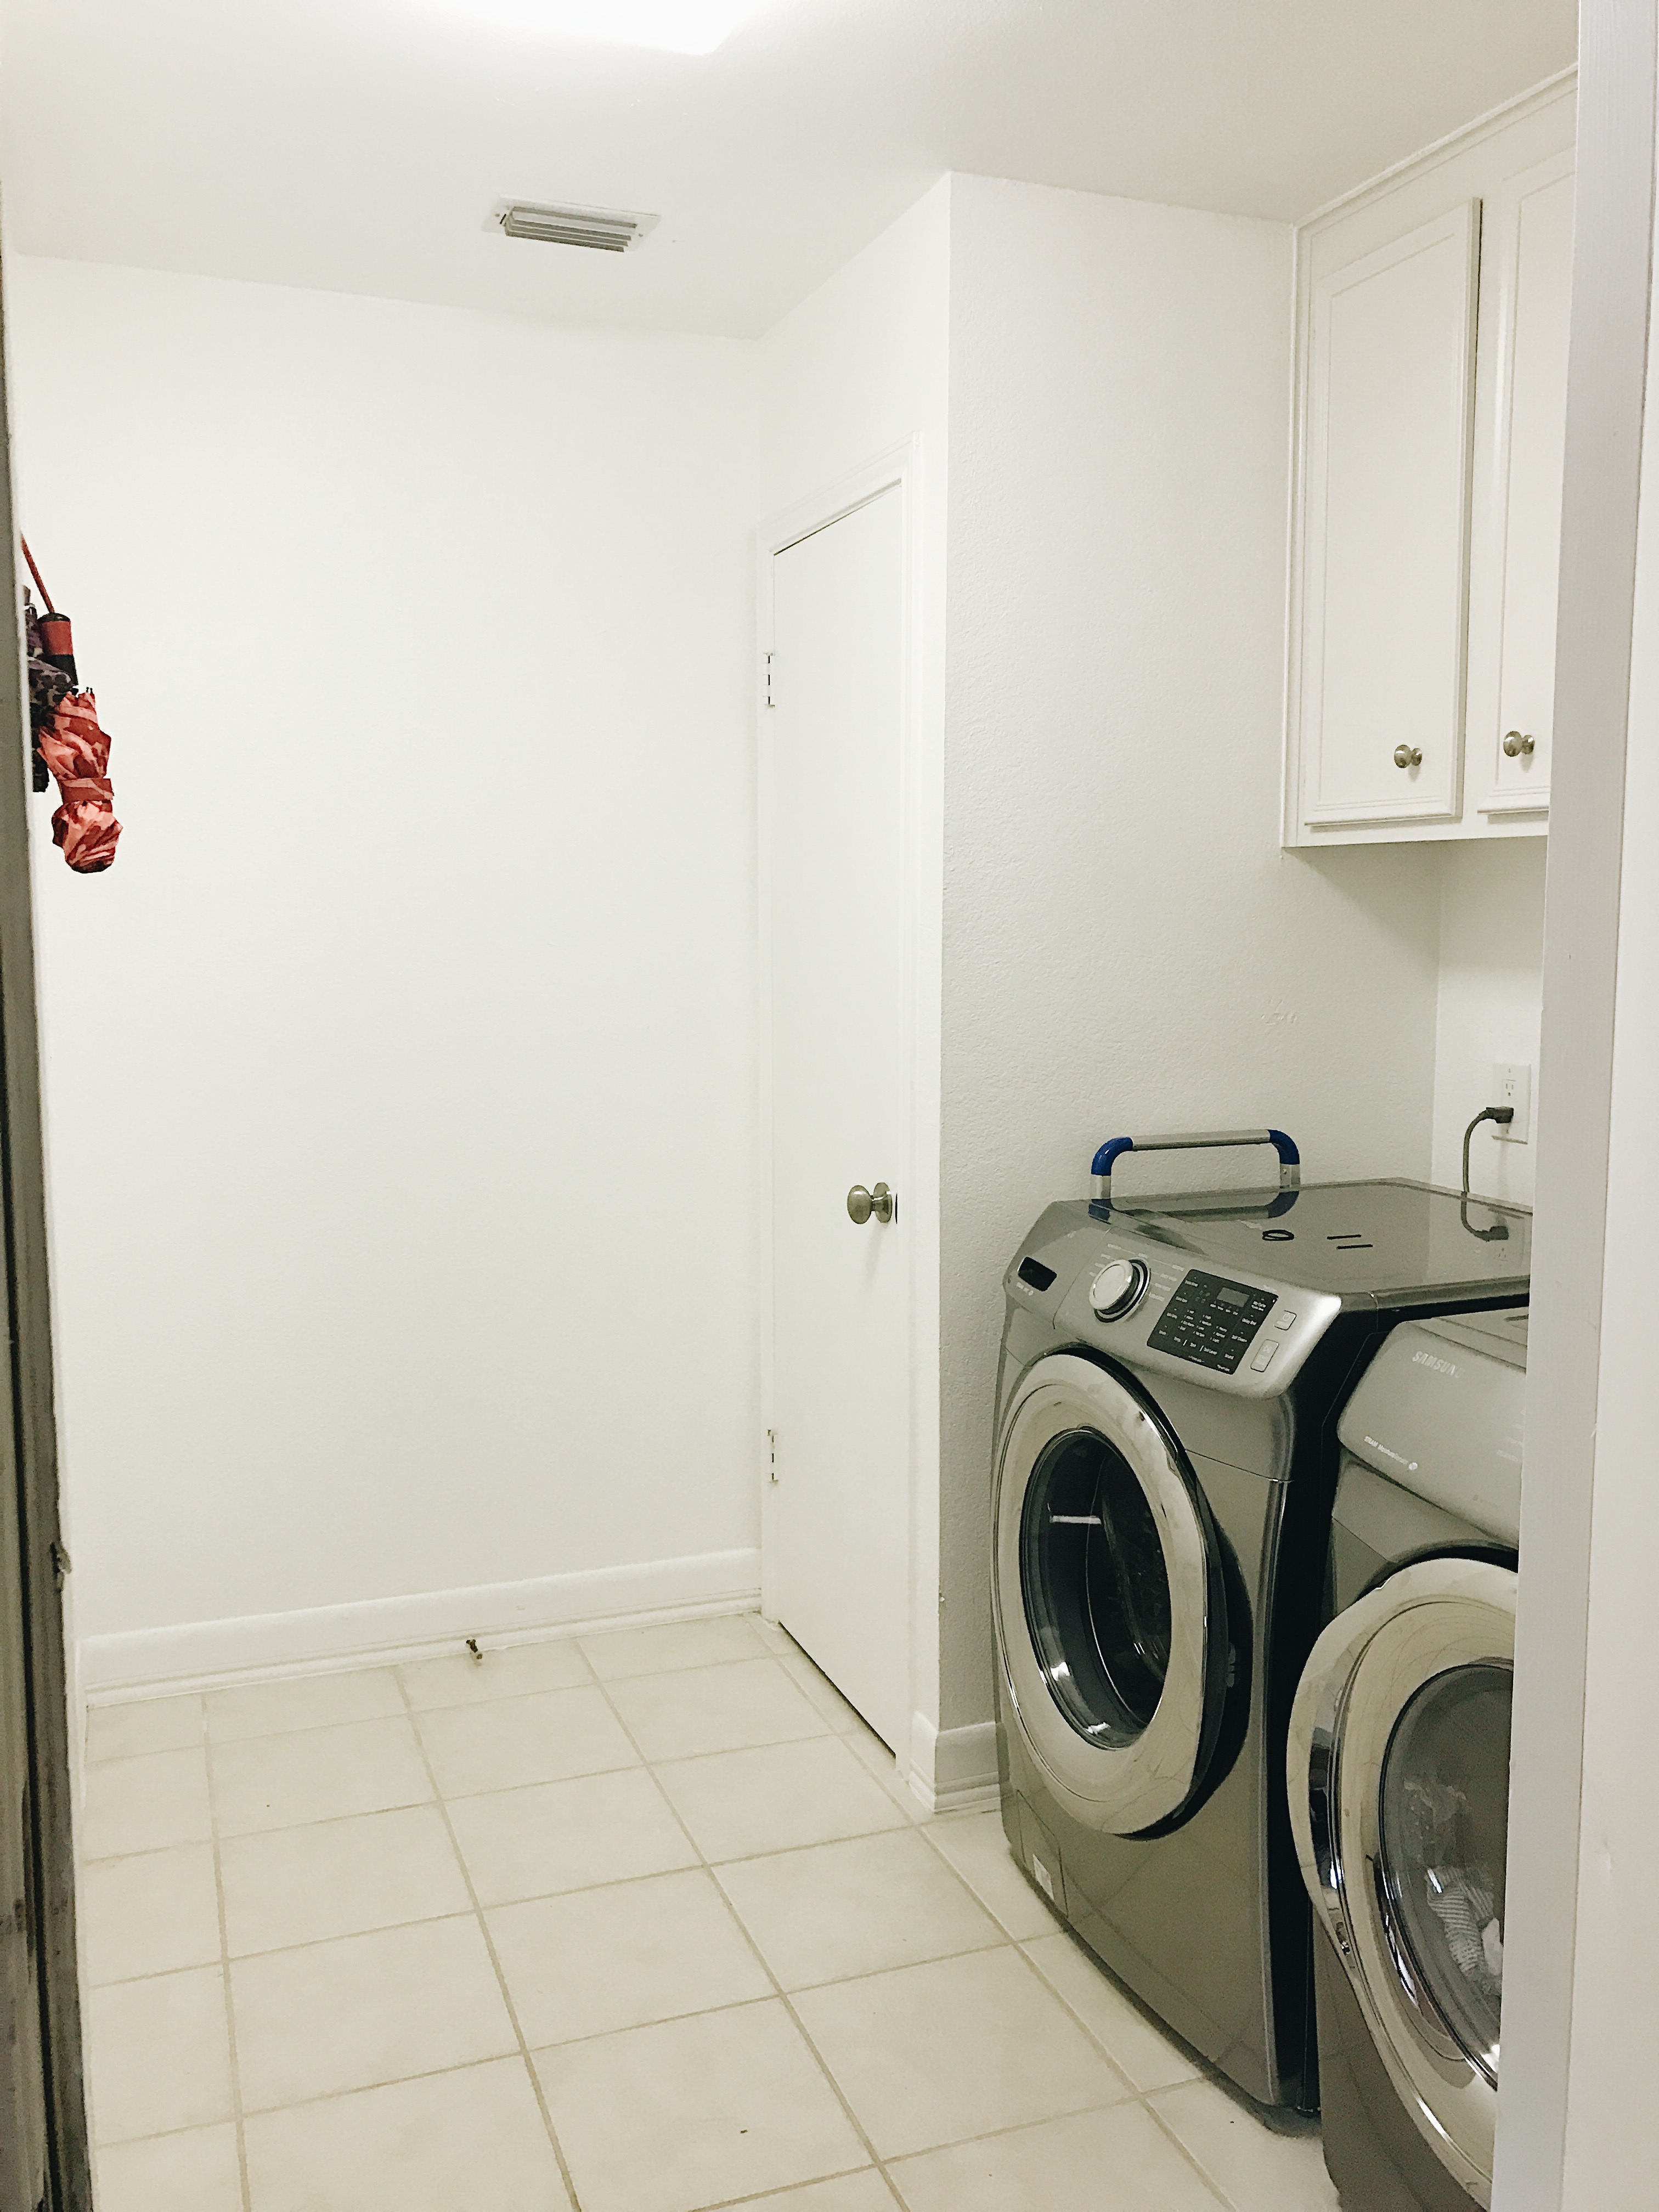
Eek, I am SO excited to finally share our laundry room reveal with you guys!! In September we had the absolute pleasure of collaborating with The Home Depot for a laundry room makeover and ohhh my heart, it could not have turned out more beautiful!! I’ve been sharing some sneak peeks on my Instagram and Insta Stories over the last couple of months, and today I’m giving y’all the full scoop, including before + after photos and all the DIY details. That said, let’s get to it! 😉

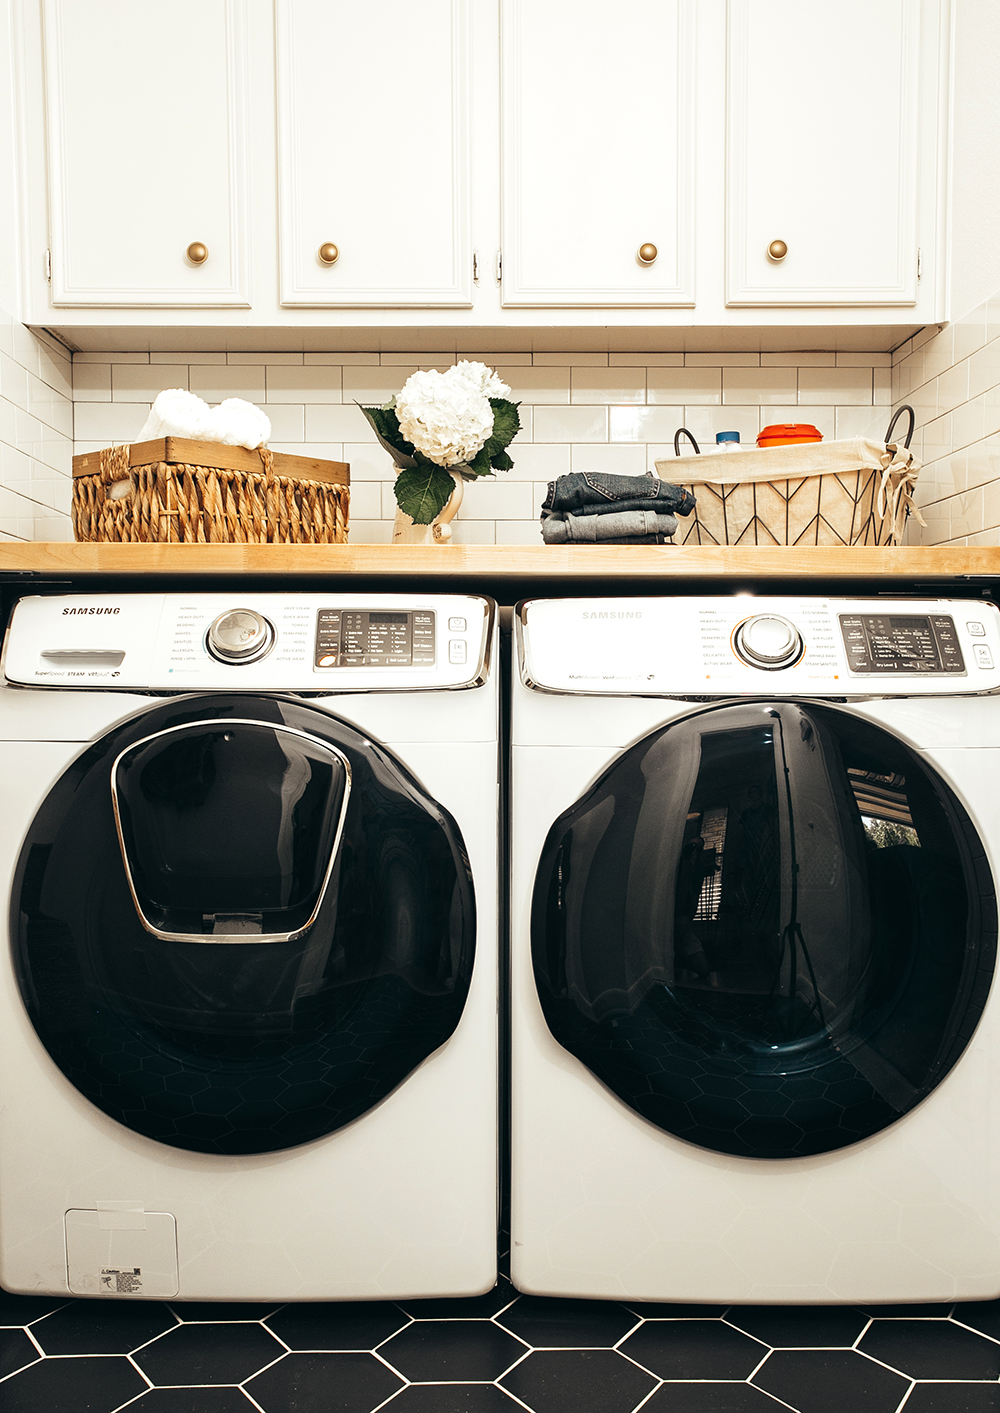
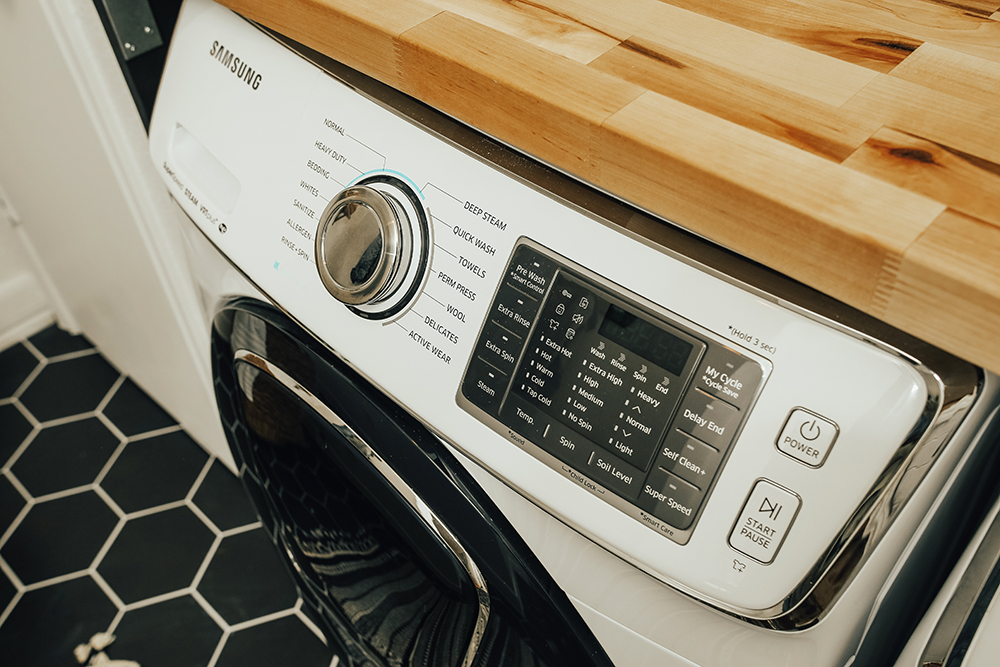
 ^^Aaand the true showstopper of the laundry room: the new Samsung Front Load Washer/Dryer…(insert 10 heart eye emojis here, ha!). Never knew I could love appliances so much! 😉
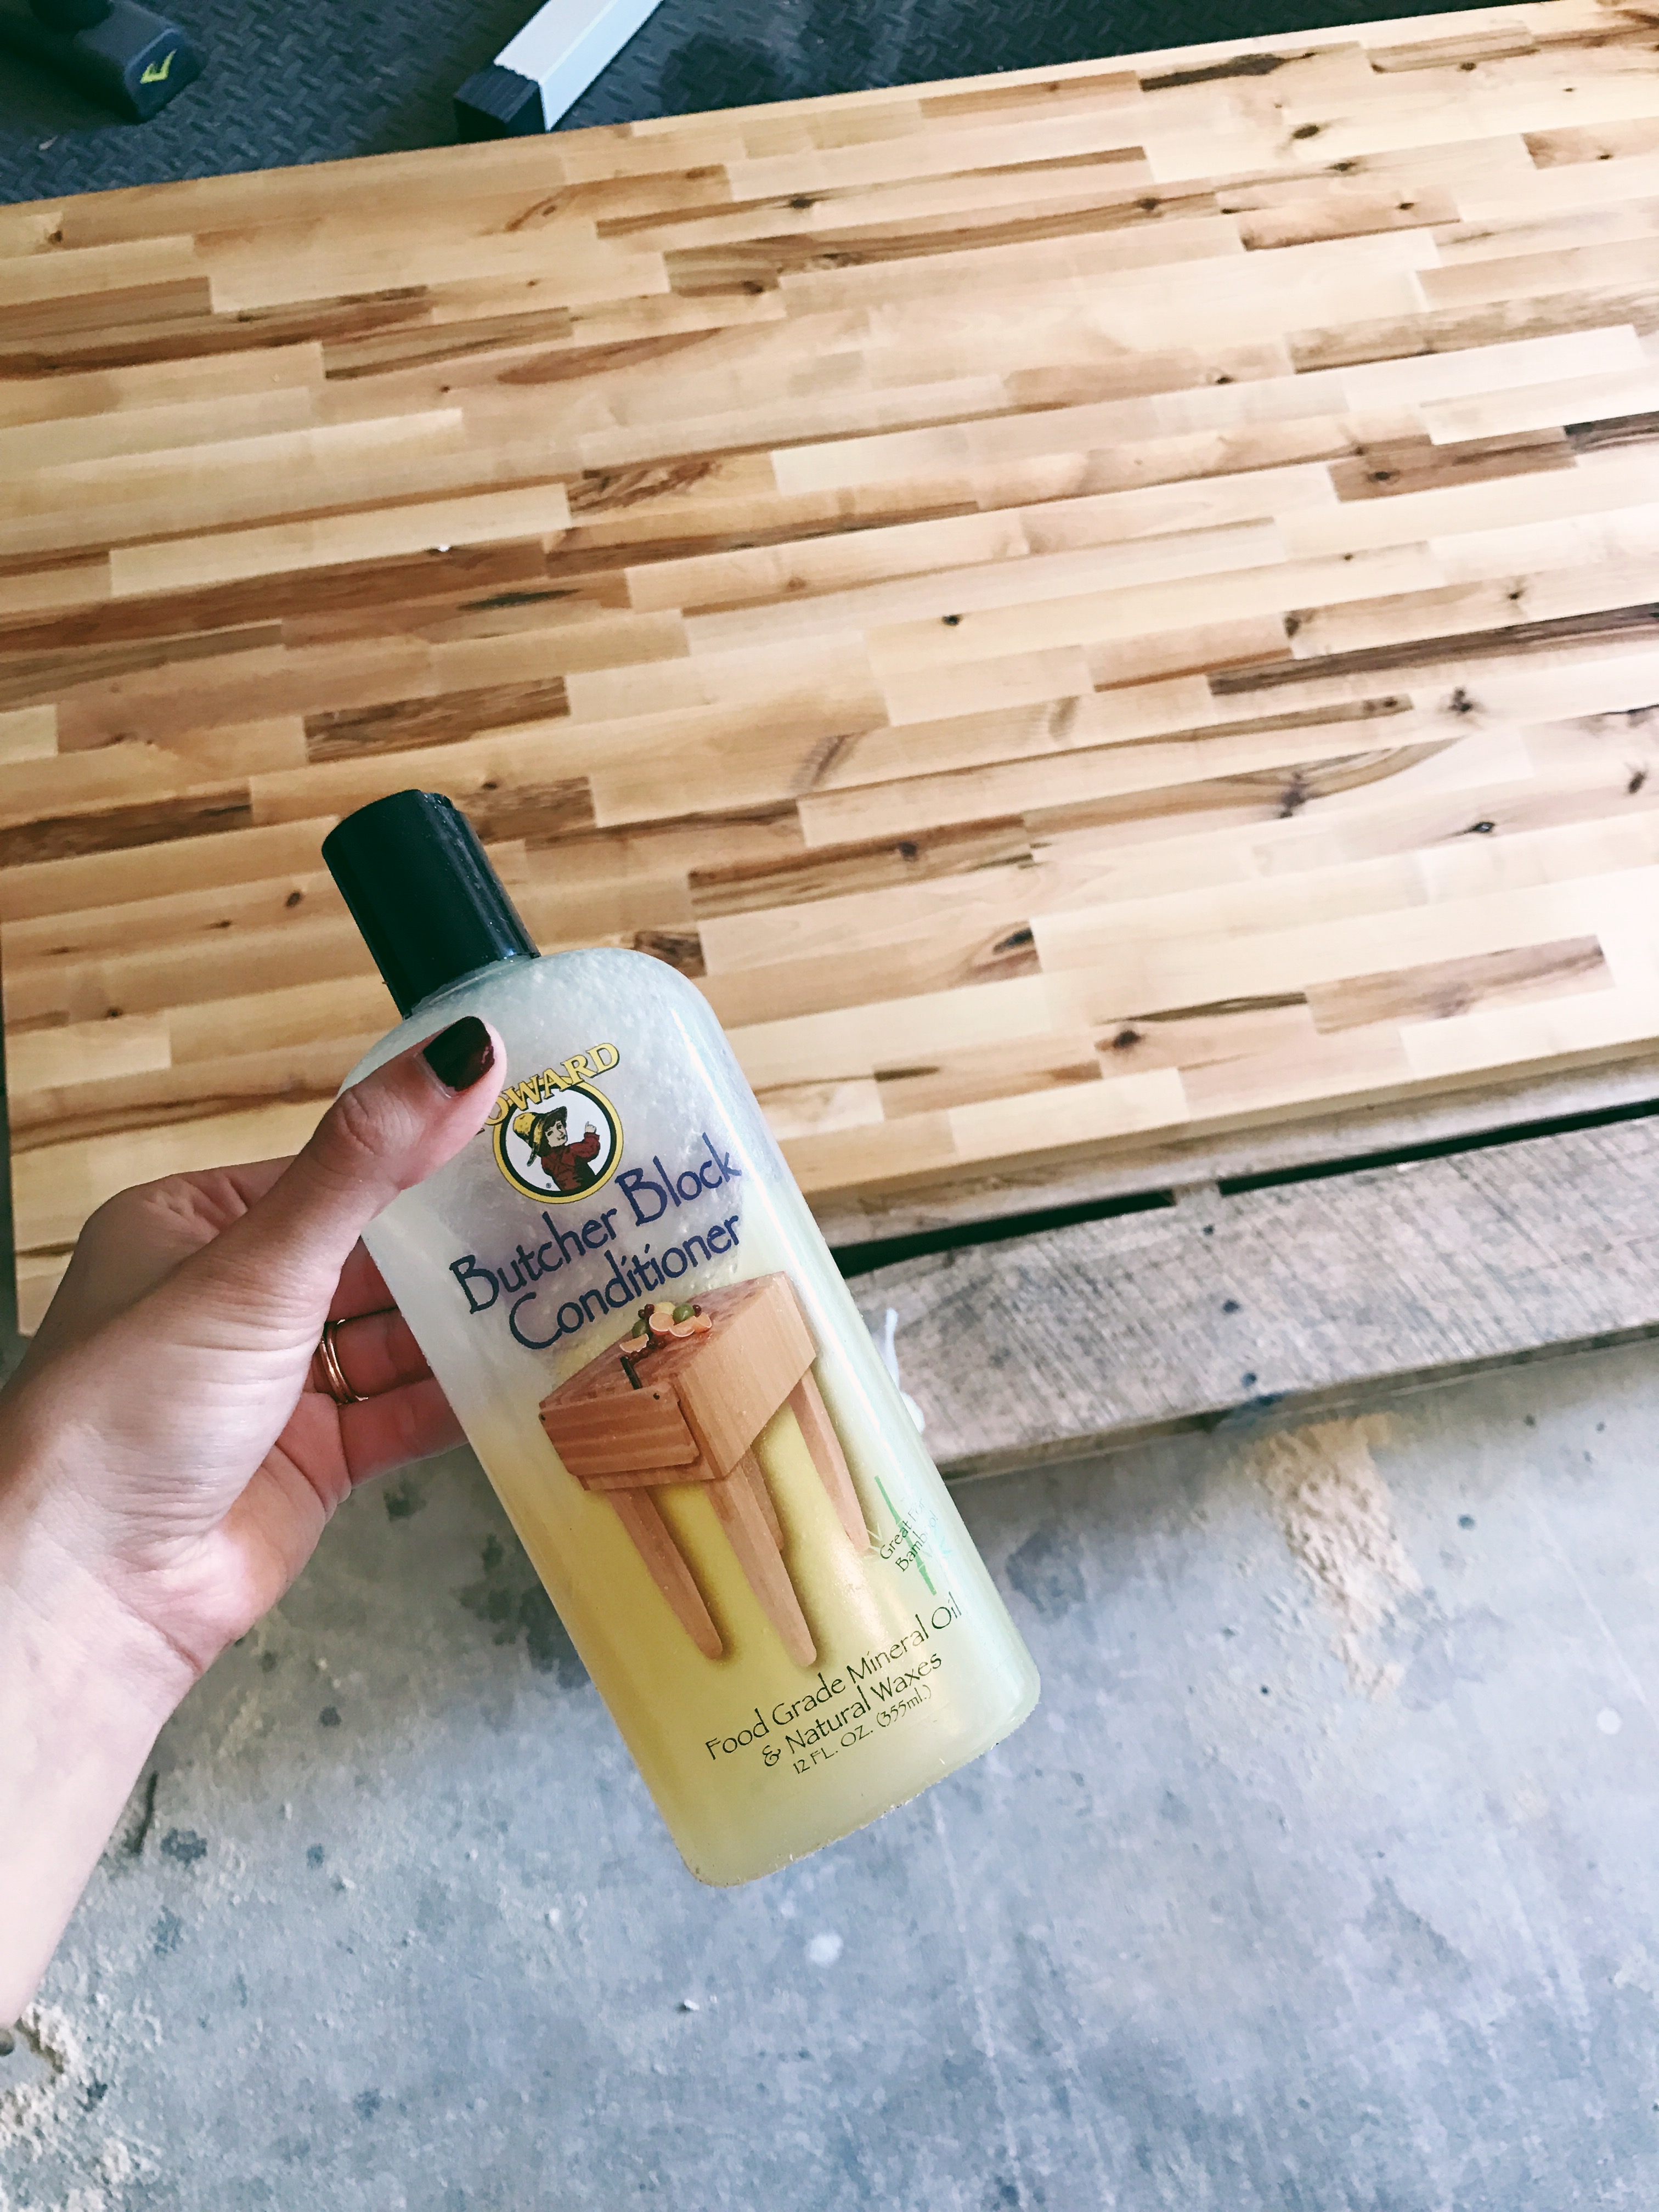
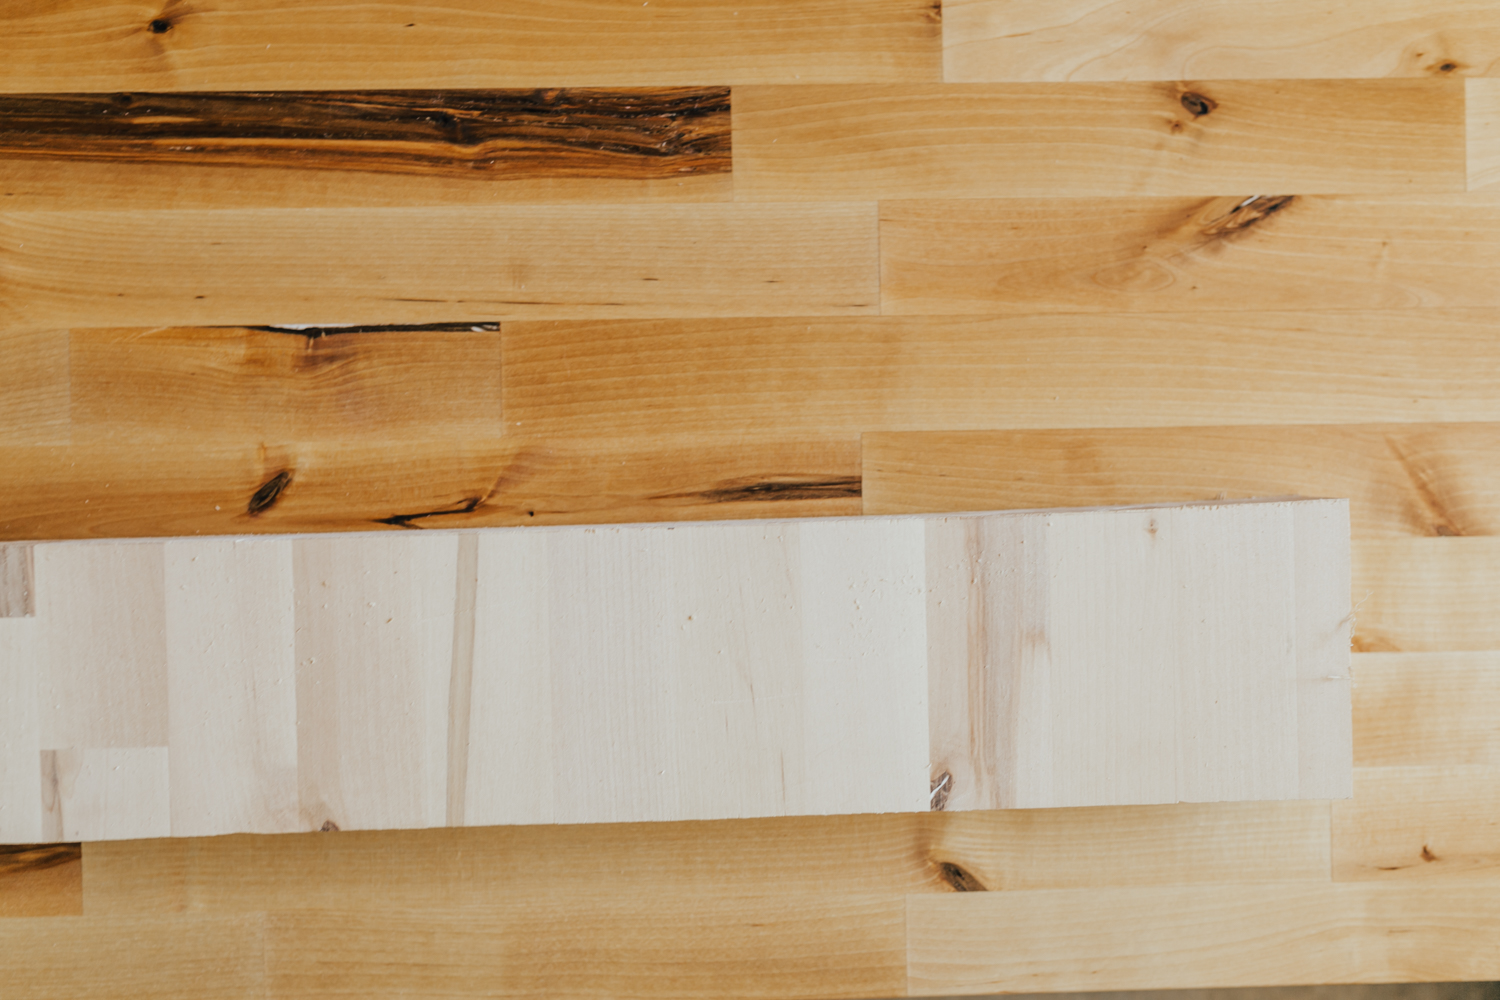
^^This shows what the Butcher Block Conditioner does to the color of the wood…it’s pretty amazing! You can see from the images above that we didn’t use a ton of the conditioner, but the color turned out really rich and went perfectly with the rest of the room. Very inexpensive (just $9) and such an easy DIY!

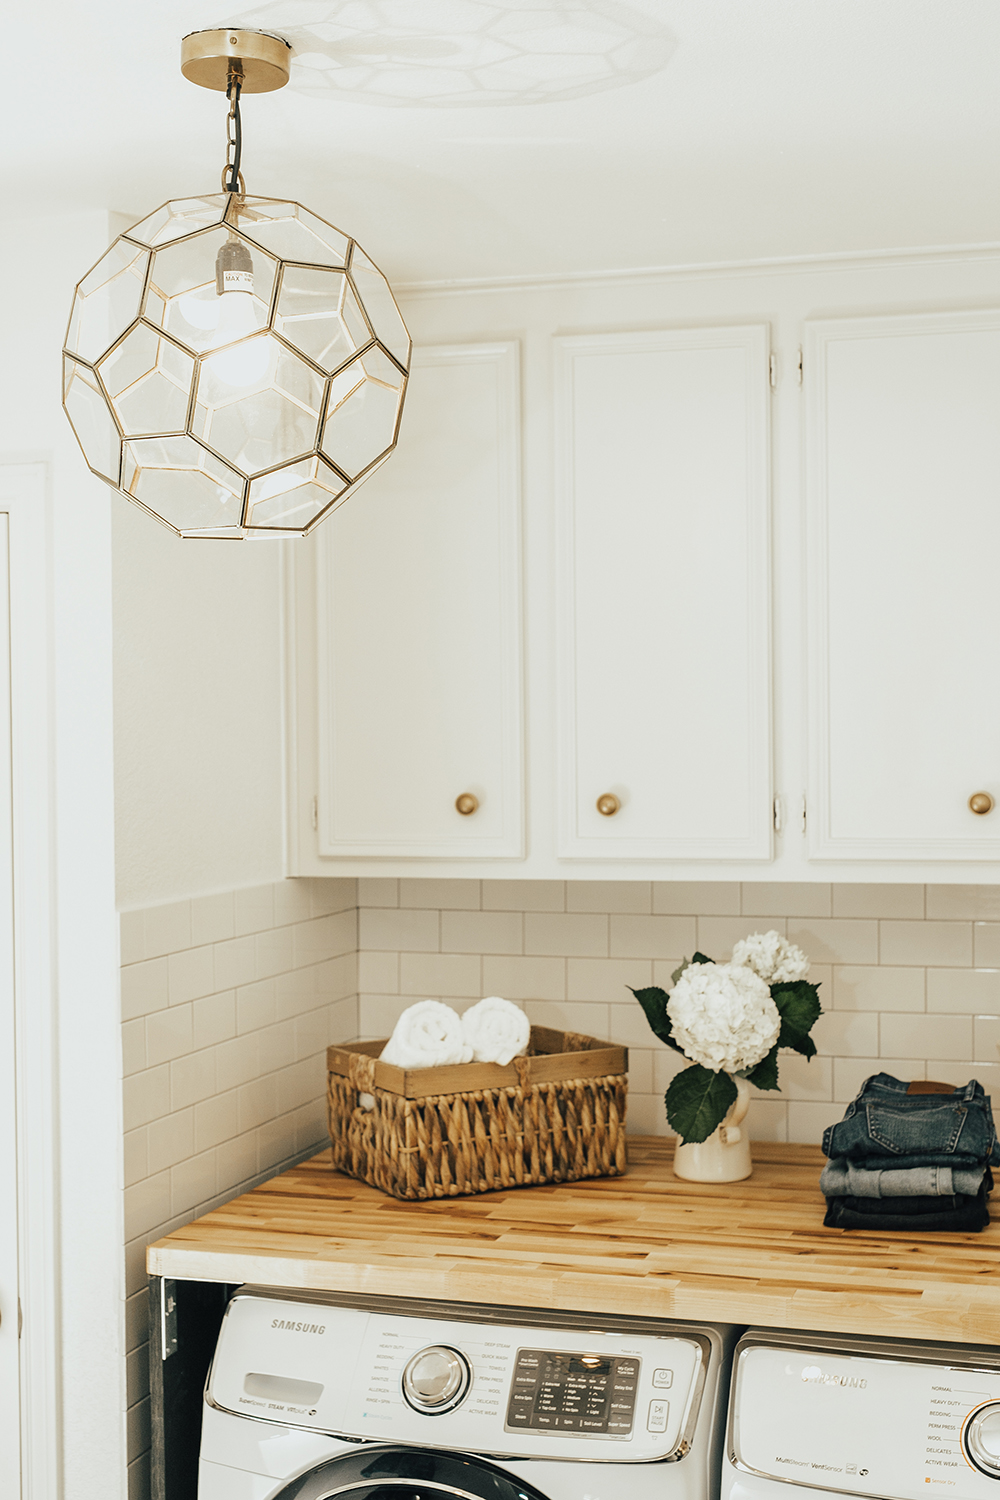
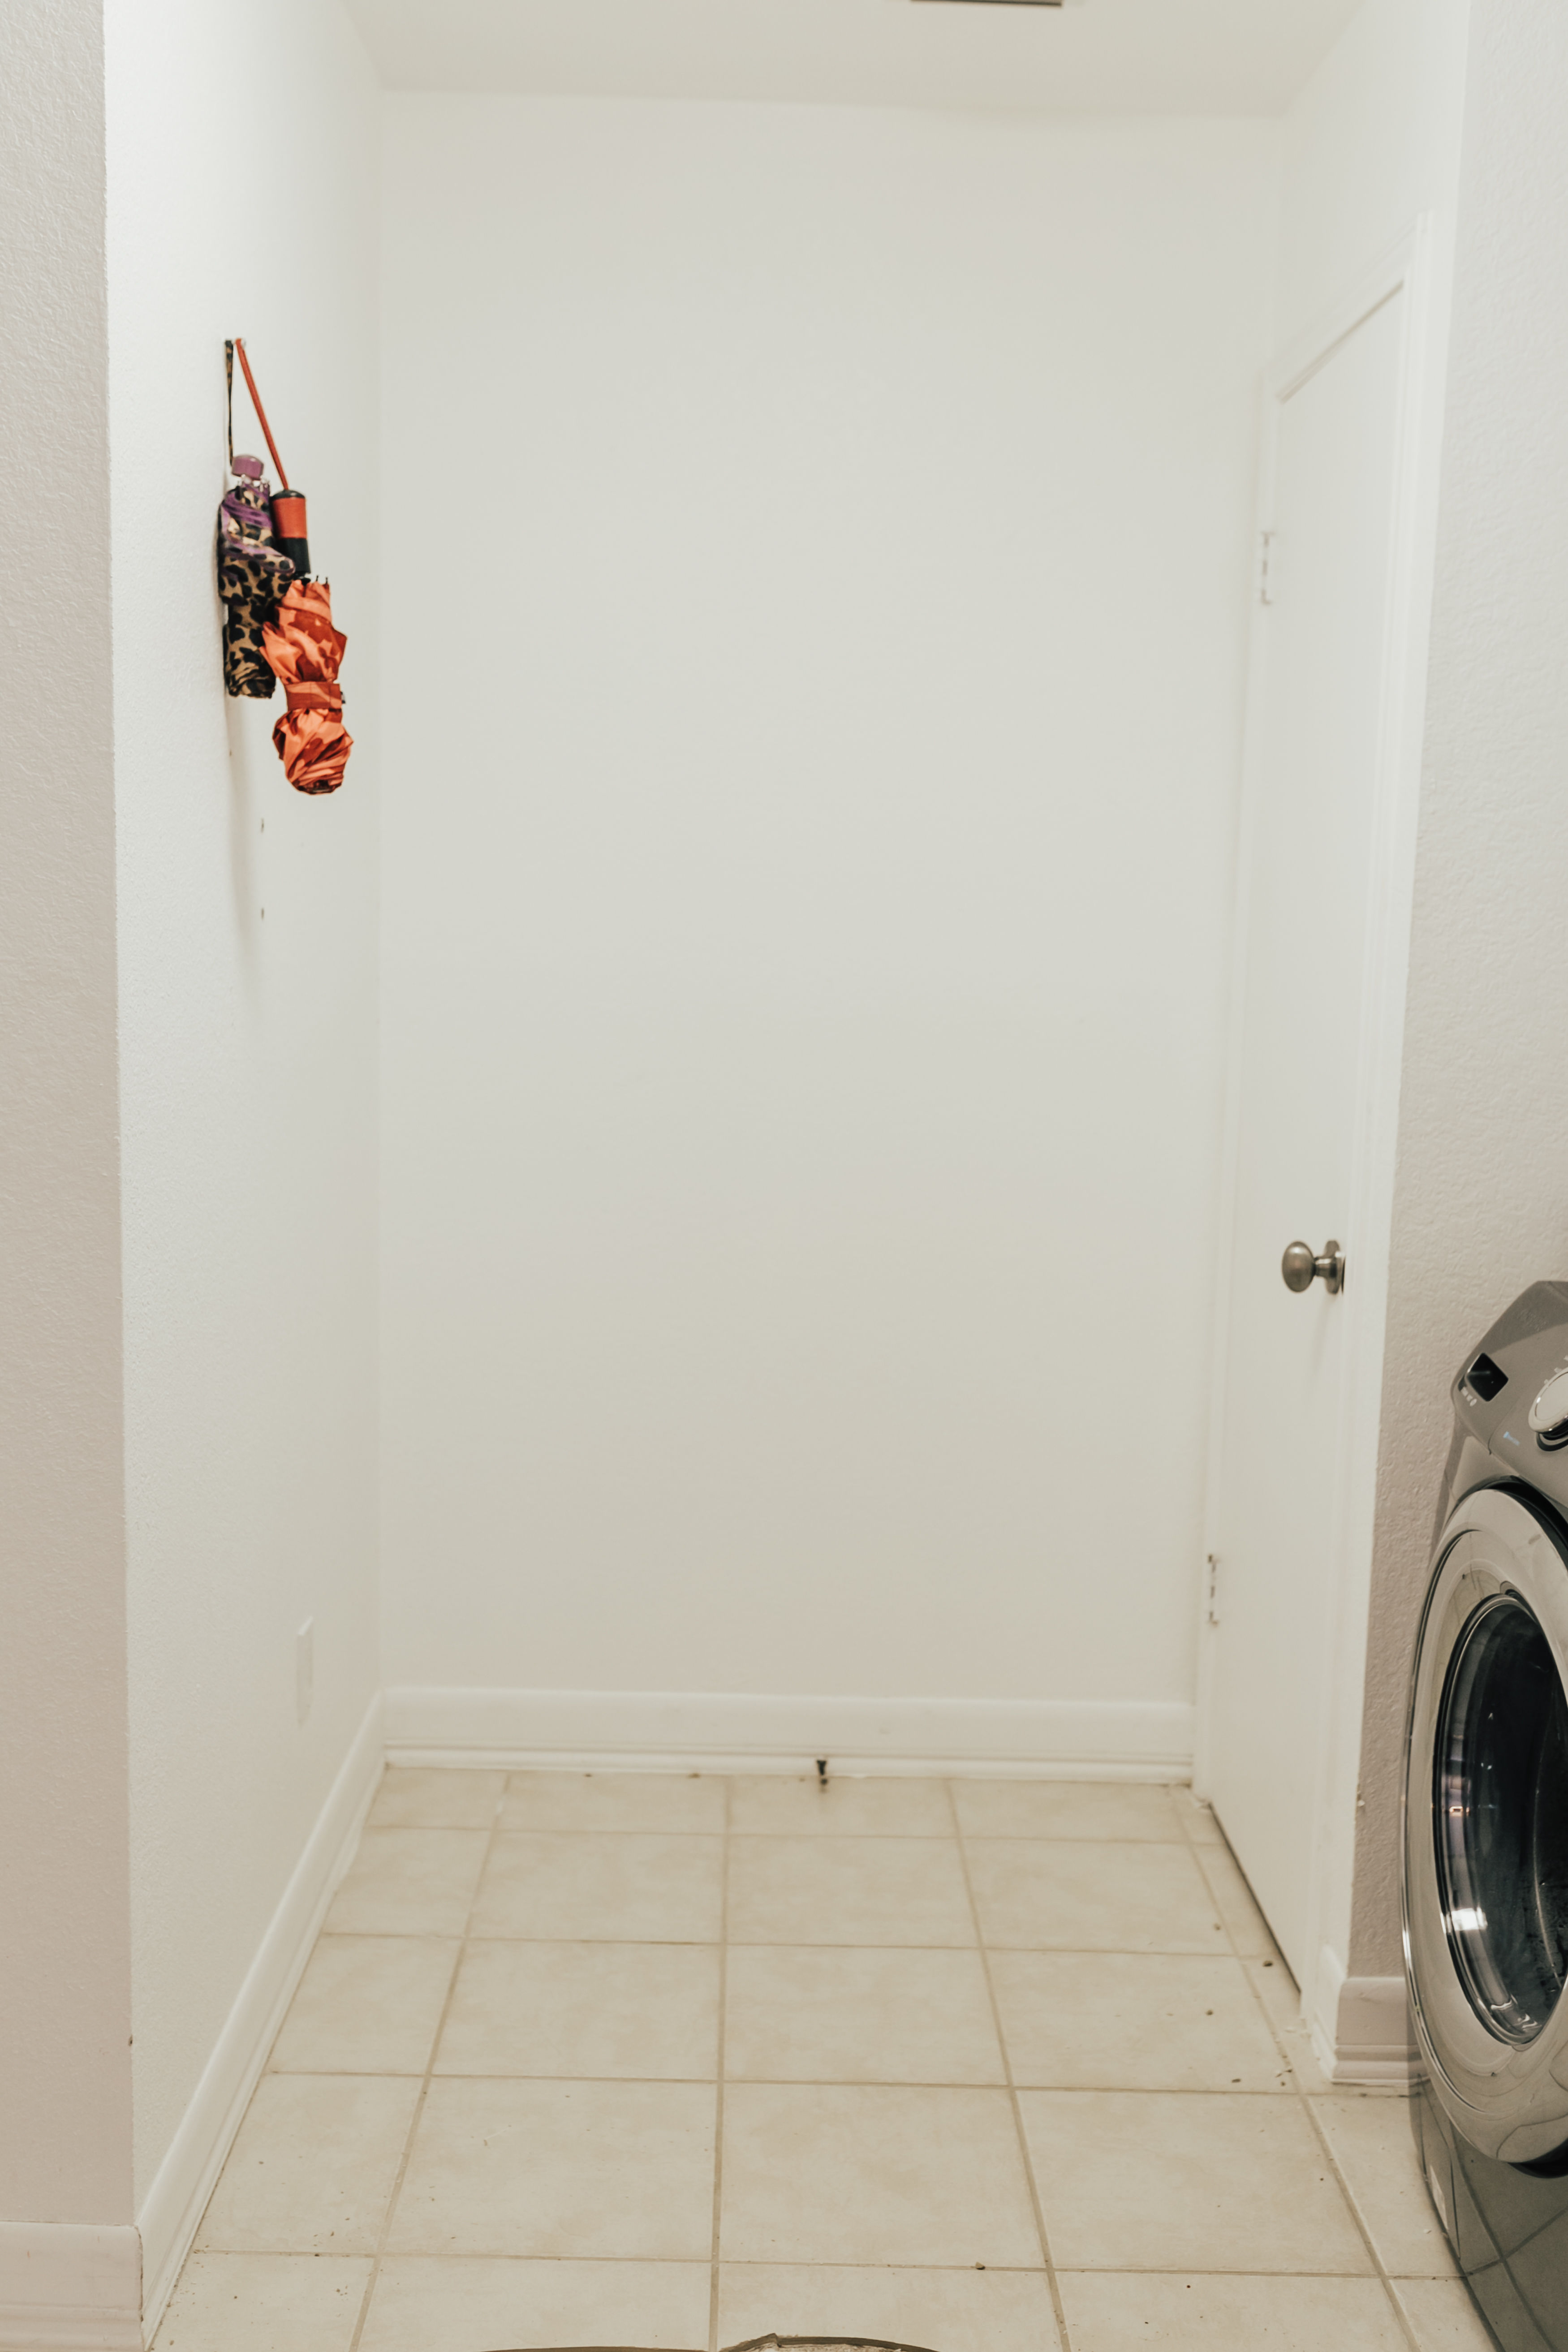
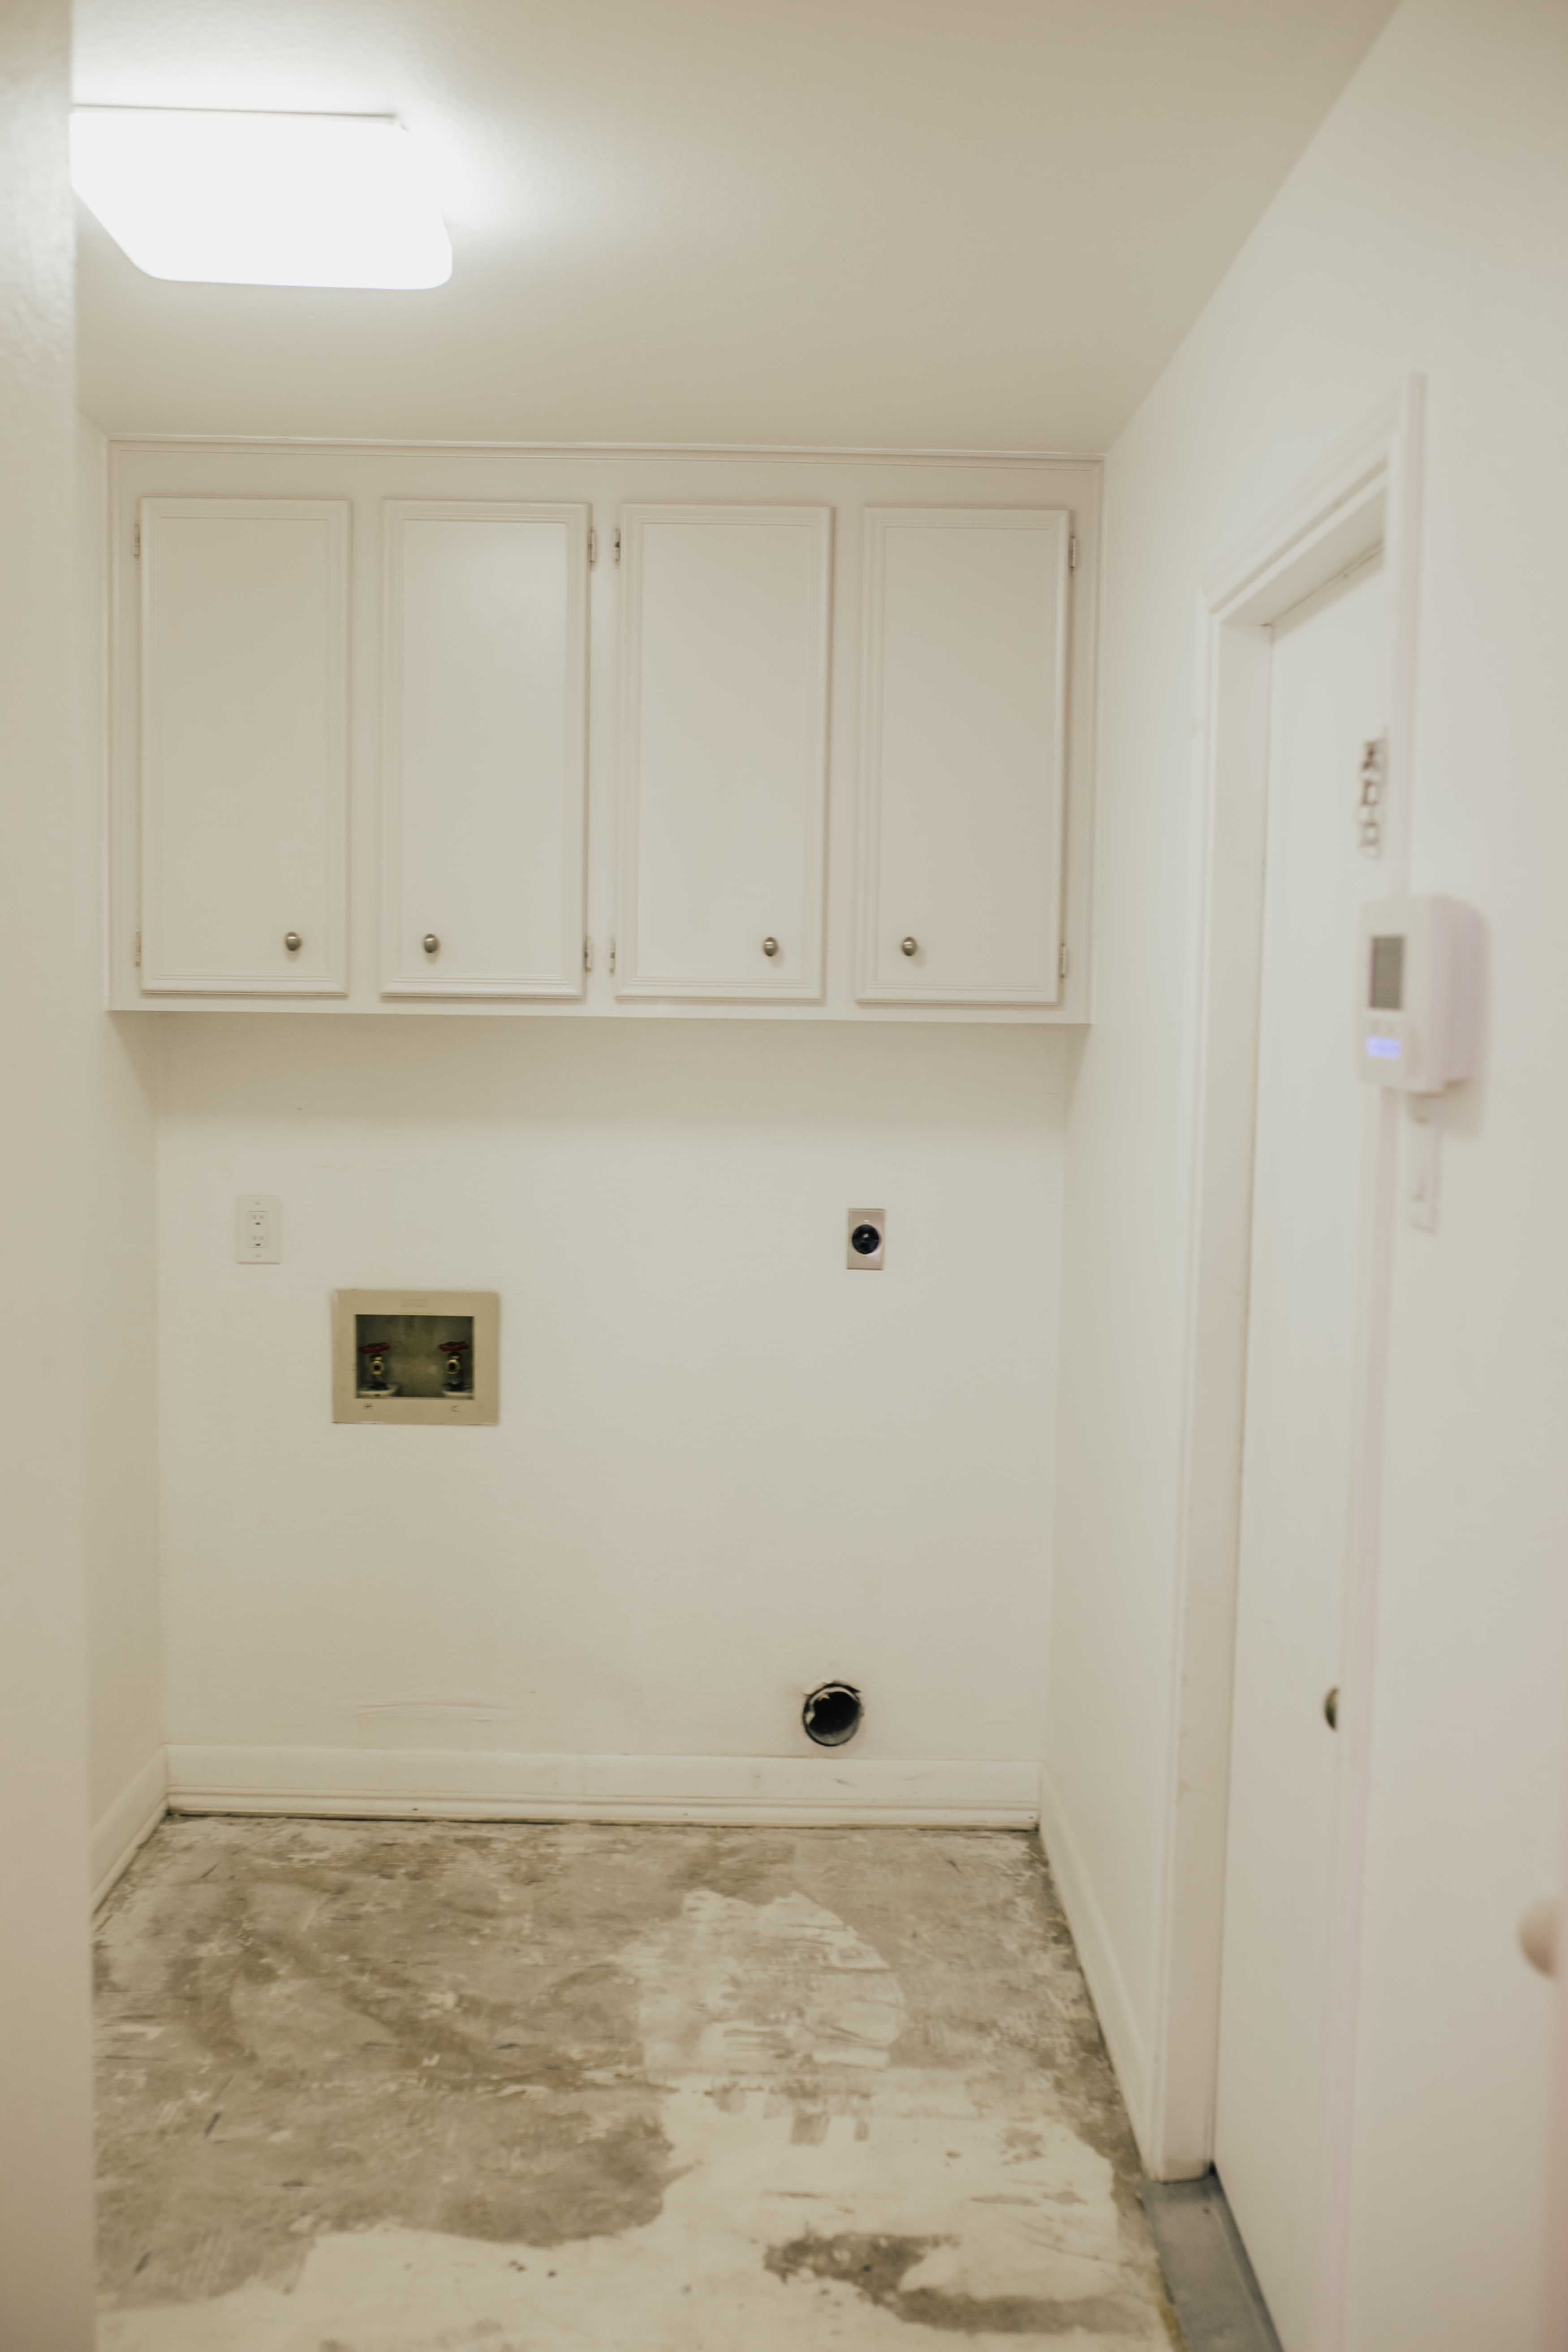
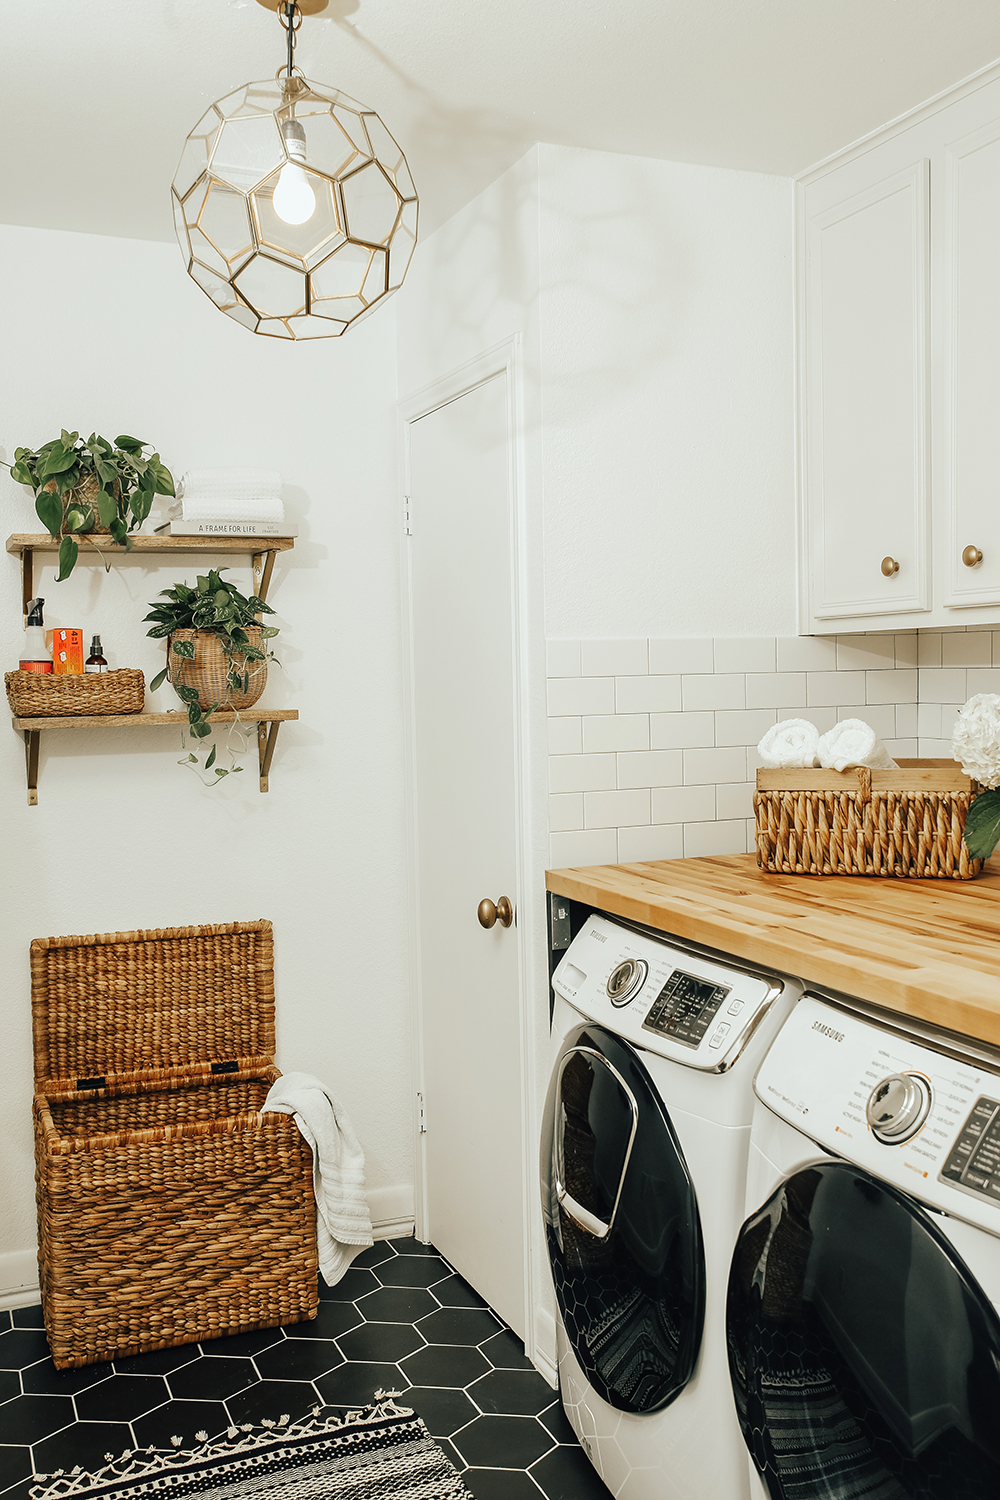 Our home was built in 1982 and though the majority of the house was updated by previous owners, our laundry room was in need of a serious facelift (…as you could tell in the “before” images above). Given that Blake and I are new homeowners, we pretty much live at Home Depot (…not even kidding, we basically go once a week – minimum!) and knew they carried a ton of gorgeous tile, hardware and appliance options.
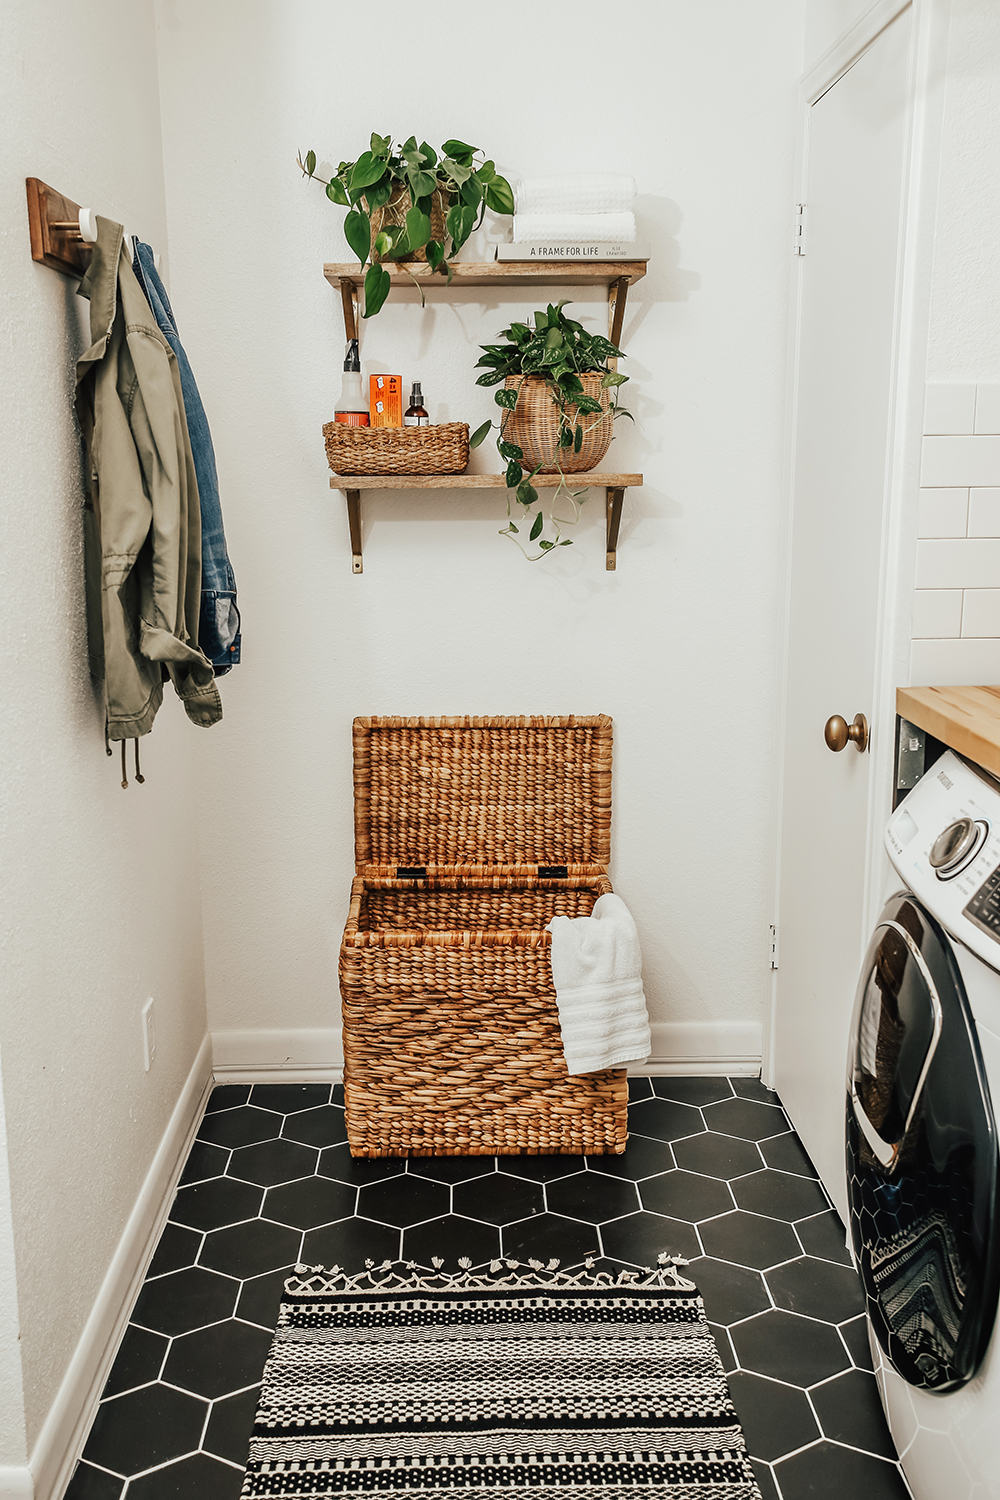
After doing some online perusing, we finally landed on a the tile combination that felt right with the rest of house (our bathrooms also have black/white tile combinations) – and that Blake also liked…he is super involved with all the home stuff, so making sure we’re both content with the design aesthetic in our house is top priority! After mulling over a couple of tile options, we finally went with the Merola Matte Hexagon Tile with light grey grout for the flooring, and Finesse Bright White Subway Tiles with dark grey grout for the backsplash. We both agreed that laying tile is a LOT of work and very tedious, so we contracted a local installation team for this portion of the makeover. (We hired A+ Renovations – special shoutout to James & his team! – and they were AMAZING, can’t recommend enough!).
Given that our laundry room has zero natural light (no windows in this one!), we opted for the white washer/dryer combo to brighten up the space and also stick with the black/white + natural wood theme we had going. We went with the Samsung Front Load Washer/Dryer and are in LOVE!!! The washer even has a little compartment called “AddWash” where you can add more clothes once it’s running…umm amazing!! (No joke, we have used the AddWash thing SO many times, it’s very handy!). I also love that the washer can complete a full load in just 36 minutes – when you change clothes as often as I do (hey, nature of the job, ha!) the quick wash time is so wonderful and efficient!
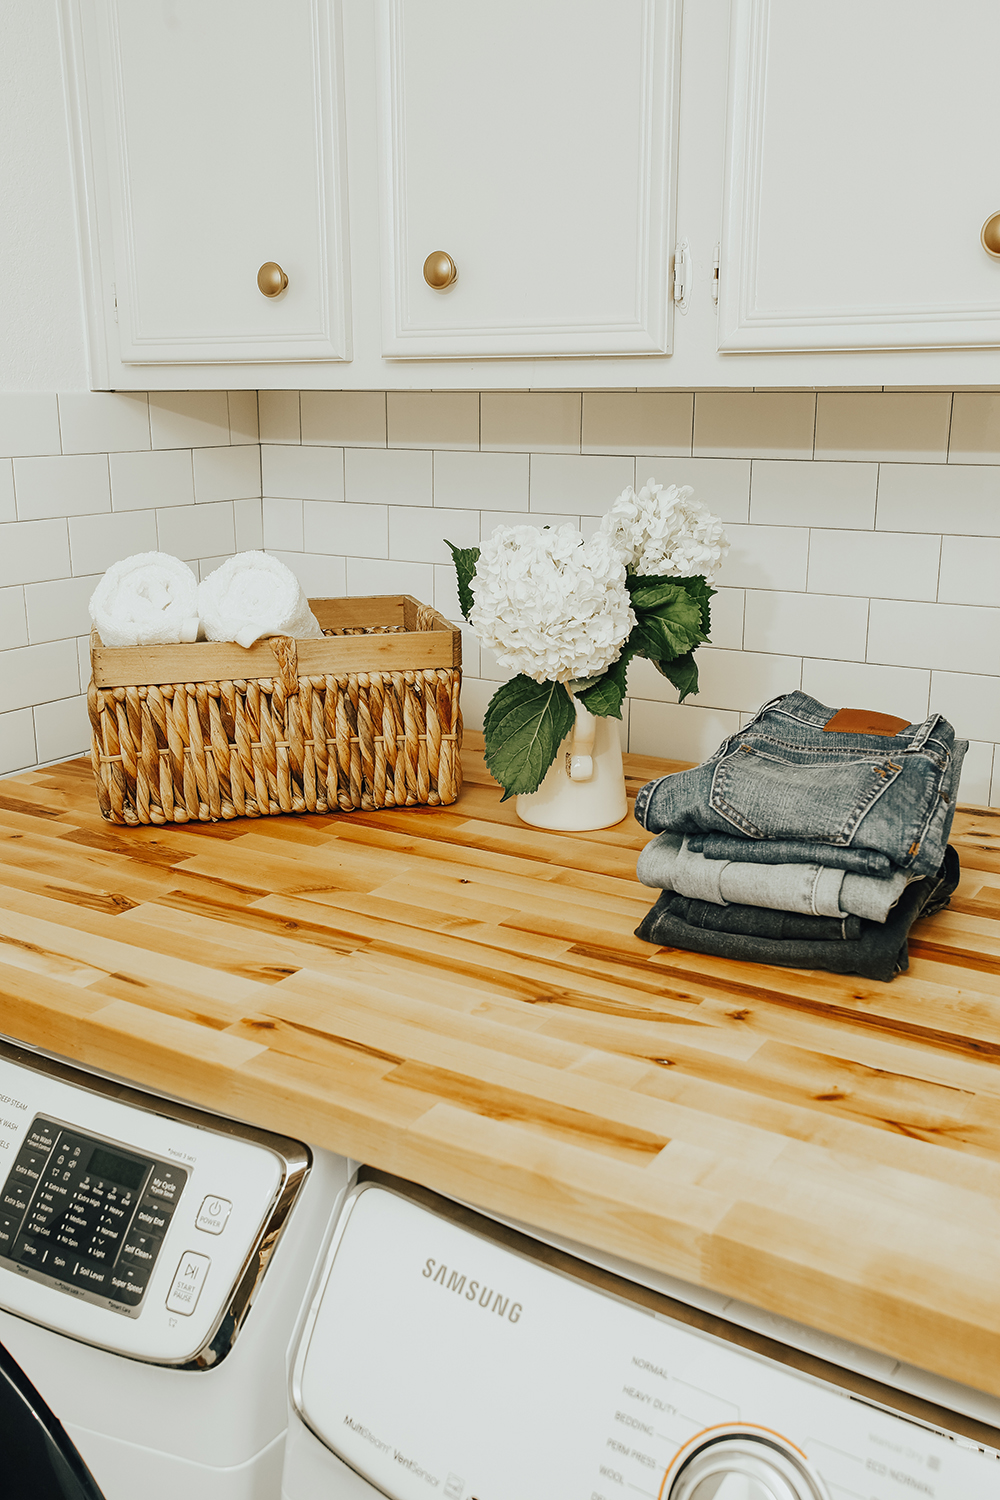
Once the tile and washer/dryer were set and ready to go, it was time to build our butcher block countertop! This proved to be a bit of a struggle because the butcher block slab we ordered was huge and needed to be cut down…(Blake to the rescue! Also, note to self: measuring before ordering is a very good idea…), and our local Home Depot had sold out of the original side panel sizes we had in mind, so we ended up buying smaller panels and nailing them together for the sides. Ohhh right…and we put the entire thing together in our garage at 11pm…only to realize that by the time we were ready to move it into the laundry room (…now midnight), it was too big for our doorframe, ah! Haha…oh the memories. Thus, after deconstructing and re-building in our laundry room, we placed it over the appliances and voila, completely magical (and worth that eventful evening haha!).
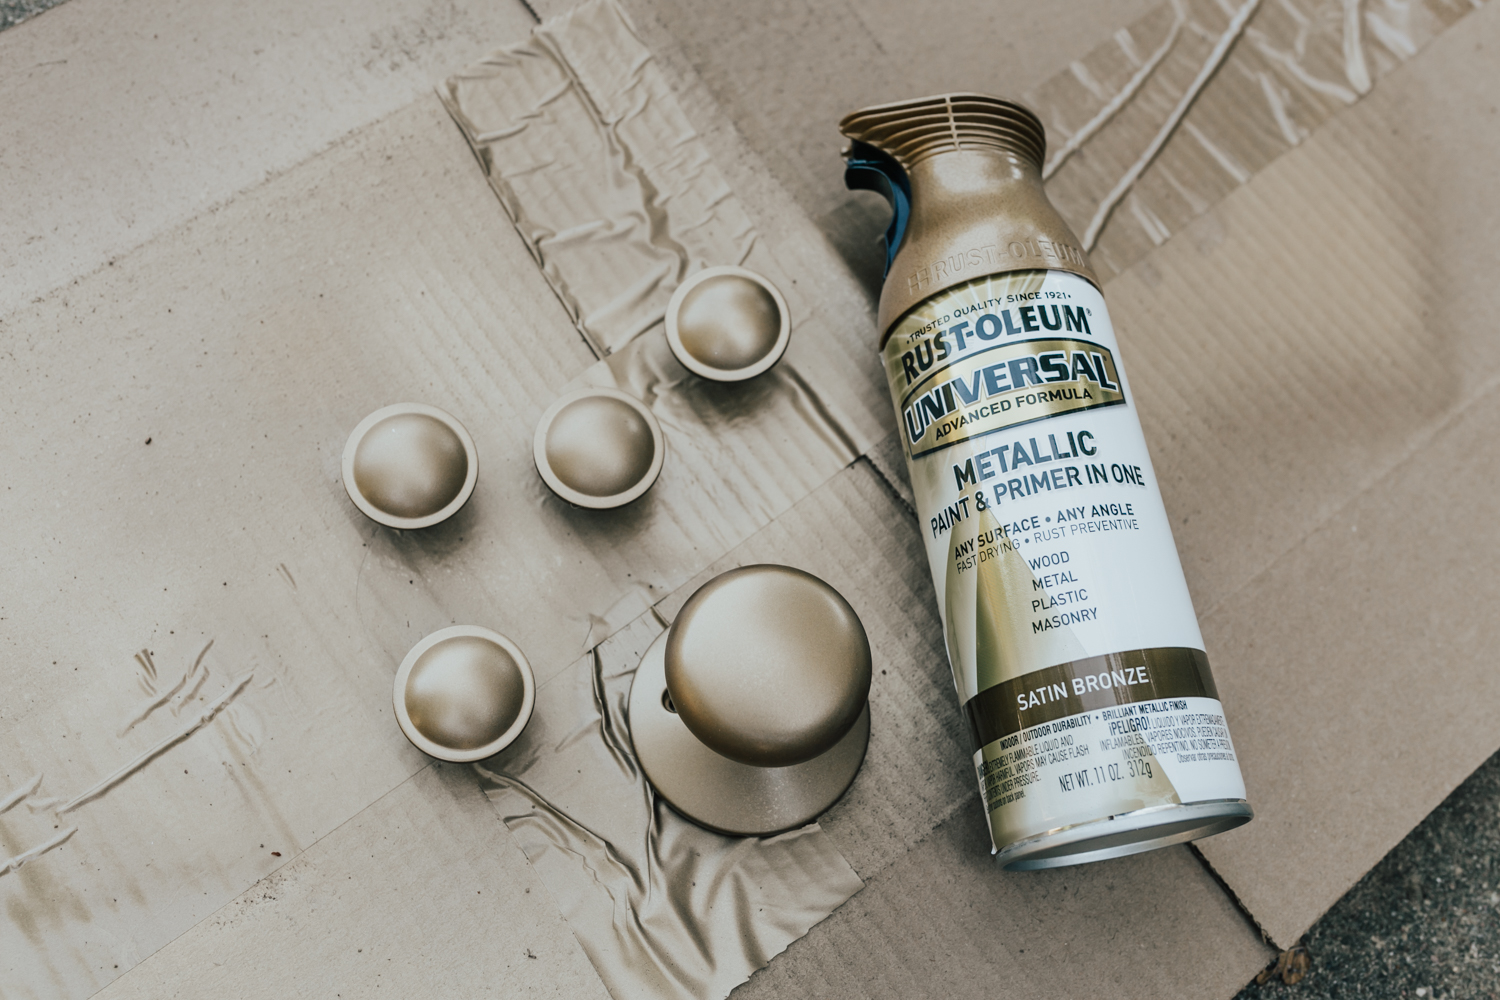
The hardware in our laundry room was originally a brushed silver (it was actually very pretty!), but I am definitely more a brushed gold/brass kinda gal when it comes to knobs and accessories. After scouring Austin for the perfect hardware (it’s a very challenging color to find!) to no avail, I finally reached out to my friend Christina of New Darlings (aka, my favorite home decor gurus) and she recommended I pick out the hardware shape I love, then use the Rust-Oleum Satin Bronze spray paint from Home Depot to get that perfectly matte gold color. Special shoutout to Christina for her words of wisdom because the hardware turned out fabulous (…and also saved us a ton of money, hooray!).
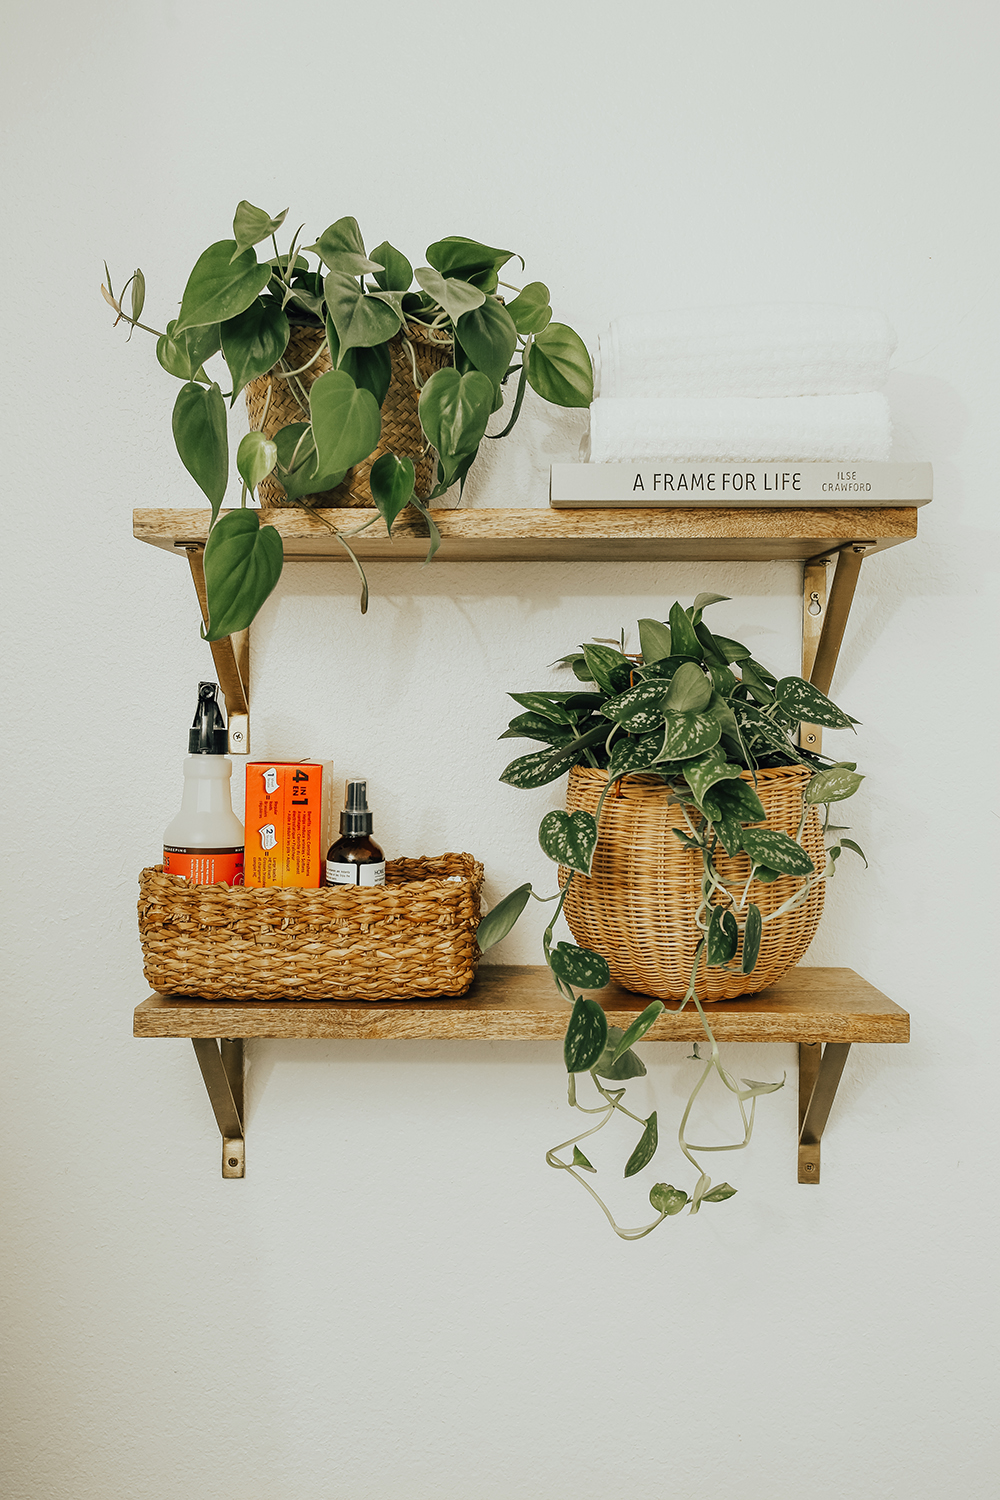
Aaand finally we were ready to fill the rest of the space with some floating shelves, wicker baskets, a new light fixture and a cute coatrack. Adding greenery to a space always makes it feel so much more inviting and home-y, so we scooped up a few new plants, too. We topped off the space by adding a rug to compliment the tile color combo and make it feel a little cozier.
Every time we walk into our laundry room, we are so enamored with how it turned out!! I never thought I’d actually be excited to do laundry (haha, ah! That’s definitely saying something…), but now I am truly so happy to spend time in this beautiful space. The butcher block counter makes folding clothes a breeze, the appliances themselves are absolutely incredible, and the overall ambiance of the room is very calming and peaceful – we could not be more pleased with how it all turned out!!
Looking to update your laundry room or washer/dryer situation? Be sure to check out Home Depot!
**Photos by Jacob Watson Photography
**I acknowledge that The Home Depot is partnering with me to participate in the promotional program described above. As a part of the Program, I am receiving compensation in the form of products and services, for the purpose of promoting The Home Depot. All expressed opinions and experiences are my own words. My post complies with the Word Of Mouth Marketing Association (WOMMA) Ethics Code and applicable Federal Trade Commission guidelines.**
WASHER & DRYER / BLACK HEXAGON TILE / WHITE SUBWAY TILE / BUTCHER BLOCK / FLOATING SHELVES / WICKER BASKETS / WIRE BASKET / RUG / WICKER LAUNDRY HAMPER (similar, ours sold out) / HONEYCOMB LIGHT FIXTURE

20 Comments
Wow, you did an amazing job! Especially comparing the final product to your ‘before’ pictures! The floor looks so good, and I love the touch of greenery to liven up the space!
Mia | http://www.verymuchmia.com
Thanks so much, Mia!! We are so happy with how it all turned out! Thanks for reading 🙂 XOXO!
Ahh, it turned out so nice! Giving me such HGTV vibes, hah 🙂 Can’t wait to see more rooms in the house!
Xo, Kacie
http://www.theprettylittlehustler.com
Haha!! Thanks so much, Kacie! Slowly but surely this house is coming along – so glad to hear you enjoyed the post…more to come! XOXO
Wow! This looks amazing. I love the butcher’s block! Question- for the floating shelves, where did you get those brackets/did you use the satin bronze spray on those too? We have been looking for brackets similar to those! Also, in a room with no windows, what do you do about the plants? Thanks!
Hi Colleen – thanks so much for the kind words!! For the floating shelves, we bought the gold brackets (as is), also from World Market (here’s a link: http://rstyle.me/~a8adu ). As for the plants – these are low light plants but truth be told we probably should have purchased fake plants for this particular space given the zero natural light. Within a few weeks these started looking a little sad, so we have since moved them into our living room where they get a decent amount of sunlight. 🙂 Hope that helps!! XO
It does, thanks!!
Looks so beautiful! I love the butcher block! What did you use for the sides? I’ve been considering something like this!!
Hey Bri! We used standard plywood and screwed them onto the butcher block with angle brackets. We painted the plywood black (3 coats) so that it matched the flooring. I’ve seen quite a few laundry room butcher block counters on Pinterest where people will paint the sides whatever color to match the space (I’ve seen navy, light blue, white, etc.), so it’s fun to play up the rooms color scheme! Good luck with your butcher block counter, it is truly something special!!
Oh my god – that light fixture! Ordering it ASAP for our dining room – love it!
Thanks, Meghan! Totally – the light fixture is magical! Enjoy it! 🙂
I’m so impressed! I also love that a lot of these ideas (minus the tile, obviously) could be used in a rental home, too! I may be stealing them … 🙂
xx
Naomi
http://huntingforpinkflamingos.com
Hi! Can you tell me where your laundry hamper is from and does it shed at all?
Hi Mary! Our hamper is from Home Goods and it doesn’t shed at all. They generally have a TON of awesome hamper options!
Love it,. Love it!! So inspiring!
I love this look! We bought an older bungalow recently as well and would love to redo some of the flooring but we have similar baseboards that you do and they are nailed AND glued onto the plaster walls and so taking them all off at this point (I have already sanded and painted them a shade of white) would be overkill. How did you avoid ruining baseboards and retiling? Thanks!
4 Trackbacks